Introduction to First Aid
The term first aid refers to medical attention provided immediately following an injury. This type of treatment is often short-term and does not require a lot of equipment or training. First aid can be useful in a wide variety of situations, and it’s a good idea to keep up to date on the basics.
A person receiving first aid is receiving emergency care when they are ill or injured. Depending on the situation, it may be the only care someone needs. However, it may provide them with temporary relief until paramedics arrive or they are taken to the hospital.
Although you can learn some basic life-saving steps until you can receive official first aid training for these events, the most effective way to prepare is to get official training.
Definition of First Aid
A person who provides basic medical care to a person suffering from a sudden injury or illness is known as first aid. An example of first aid can be when someone is in the middle of a medical emergency and needs support.
It can help them stay alive until professional assistance is provided. In other words, first aid is when someone has a minor injury and is provided with care. Minor burns, cuts, and insect bites can often be treated with first aid.
Steps for emergencies
Follow these three basic steps if you encounter an emergency:
1. Check the scene for danger
Observe anything that could be dangerous, like fire, falling debris, and violent people. Removing yourself from the area and calling for assistance is the best thing to do if your safety is at risk.
Ensure the person is healthy or injured by assessing the scene. Moving them unless it is necessary for their protection is not recommended.
2. Call for medical help, if needed
Tell someone nearby to call 911 or the local number for emergency medical services if you suspect that the sick or injured person needs emergency medical care. Call 911 if an emergency arises.
3. Provide care
Keep the injured or sick person near you until professional help arrives, if you can do so safely. Make sure to keep them calm by wrapping them in a warm blanket. Consider treating any potentially life-threatening injuries they might have if you are a first aid expert.
Whenever you think your safety is being threatened, remove yourself from danger.
First aid bandage:
Many minor cuts, scrapes, or burns can be treated with an adhesive bandage. Depending on the size of the wound, you might need to apply a gauze pad or a roller bandage.
The following steps will help you apply a roller bandage to a wound:
- Maintain steady pressure on the injured area.
- Cover the wound with a bandage wrapped gently but firmly around the injured limb or body part.
- Apply a sticky tape or safety pin to hold the bandage in place.
- The bandage should be wrapped firmly enough to stay in place without completely cutting off the blood supply.
You can test the circulation in a bandaged limb by pinching either a fingernail or toenail until the color drains from the nail. The bandage needs to be adjusted if the color does not return within two seconds after releasing it.
First aid for burns:
A burn is caused by a hot liquid, the sun, flames, chemicals, electricity, steam, and many other factors. In children, hot drinks, soups, and microwaved foods can cause injuries in the kitchen.
Major burns require emergency treatment. Minor burns can be first-aid treated.
Treating major burns:
You should do such things until emergency help arrives:
- Make sure the burn victim is protected from further harm. Be careful not to let the person you’re helping come into contact with the burning source if you can do so safely. In the case of electrical burns, turn off the power source before coming in contact with the burned person. Never remove clothing stuck in electrical burns.
- If someone is burned, make sure they are breathing. Try to provide rescue breathing if necessary.
- Removing jewelry, belts, and other tight items is especially important in the burned area and around the neck. Swelling occurs quickly when a burn is exposed.
- Cover the burn. Apply gauze or a clean cloth loosely to the affected area.
- Raised the burn area. As much as possible, elevate the wound above heart level.
- A sign of shock should be observed. Symptoms of a cold, clammy skin include a weak pulse and shallow breathing.
You can also read: NATURAL WAYS TO BOOST FERTILITY
Treating minor burns:
For minor burns:
- Put ice on the burn area. Tend the area for about 10 minutes under cool (not cold) running water. Apply a cool, wet cloth to the burn on the face until the pain subsides. When your mouth is burning from hot food or drink, put ice in it for a few minutes.
- Remove rings or other items that are tight from the burnt area. Don’t let the area swell before doing so gently and quickly.
- Be careful not to break blisters. They help prevent infection. Bleeding blisters should be cleaned with water and treated with antibiotic ointment.
- Apply lotion to that area. Cool the burn and then apply a lotion, such as aloe vera or cocoa butter. Aloe vera and cocoa butter can prevent the skin from drying out.
- Apply a bandage to the burn. Use a clean bandage to cover the burn. Make sure not to compress it. Bandaging protects blistered skin by keeping air off the area and reducing pain.
- You can take acetaminophen (Tylenol, Advil, Motrin IB, etc.), naproxen sodium (Aleve), or ibuprofen (Advil, Motrin IB, etc.).
First aid CPR:
If you find someone unconscious or see someone collapse, call 911. Approach the unconscious person and start CPR if the area around them seems safe.
Although you may not have formal training, you can perform hands-only CPR to help someone survive until professional help arrives.
You can perform hands-only CPR on an adult by following these steps:
- Both hands should be on top of each other at the center of their chest.
- Repeatedly press down on their chest at a rate of 100 to 120 compressions per minute.
- When you count correctly, you can compress their chest.
- Keep compressing the chest until professional help arrives.
First aid for bee sting:
Rapid changes can occur. A couple of minutes later, the kids are playing outside peacefully on a warm spring day. A few minutes later, a piercing scream reveals one of them was stung by a bee. Knowing how to treat a bee sting can help ease the panic.
Immediately removing the stinger is important. During the time the stinger is in the skin, it releases more venom, which increases the swelling and pain experienced by the victim.
A dermatologist recommends the following steps to treat a sting from a bee, wasp, or hornet:
- Stay calm. Although hornets and wasps can sting again after stinging once, bees usually only sting once. To avoid further attacks, walk away calmly from the stinging area.
- Remove the stinger. Remove the stinger by scraping it over with your fingernail or a piece of gauze if it remains in your skin. Squeezing a stinger releases more venom into your skin, so avoid using tweezers to remove it.
- Using soap and water, wash the sting.
- Apply a cold pack to reduce swelling. It is important to go to the best hospital in Jaipur immediately if swelling moves to other parts of your body, such as your face or neck. This might indicate an allergic reaction. Allergies can also cause difficulty breathing, nausea, hives, or dizziness.
- Consider taking over-the-counter pain medication. Hornet stings, wasp stings, and bee stings can be painful. Assist in relieving the pain with acetaminophen or ibuprofen. Check the label for dosage instructions.
First aid for Nosebleed:
Bleeding from the nose is common. These bleedings are usually merely annoying rather than medically severe. But they can be both.
- Sit upright and lean forward. You can reduce your nose’s blood pressure by remaining upright. Standing upright prevents further bleeding. You can avoid swallowing blood if you sit forward.
- Gently blow your nose. Remove any blood clots from your nose by blowing. After that, it is recommended to spray your nose with an oxymetazoline nasal decongestant (Afrin).
- Pinch your nose. Press your thumb and index finger together to close your nostrils. Take a deep breath through your mouth. Repeat this process for about 10 or 15 minutes. Blood flow is often stopped when pinching the nasal septum and sending pressure to the bleeding point.
- Continuing holding pressure for 10 to 15 more minutes will stop bleeding if it continues. Keep your eyes closed. Consult an emergency doctor if the bleeding persists.
- To prevent rebleeding, do not pick or blow your nose, and do not bend over for a few hours. Maintain a higher position than your heart to prevent bleeding. Using a cotton swab or finger, apply petroleum jelly gently to the inside of your nose.
First aid for heart attack:
If you think a person is having a heart attack, sit them down and make them as comfortable as possible, and call for an ambulance.
Common symptoms of a heart attack include:
- chest pain – a painful sensation in the heart, usually occurring on the left or right side of the chest, may feel like pressure, tightness, or squeezing
- pain in other parts of the body – the pain can radiate from the chest down one or both arms, or from the chest to the jaw, the neck, the back or the abdomen (tummy).
Until they are conscious, encourage them to chew a 300mg aspirin tablet slowly (unless they should not be taking aspirin, for instance, if they are under 16 or allergic to it).
Provide the person with any medication they need to treat angina, such as a spray or a tablet. Track their vital signs until assistance arrives.
If the person becomes unconscious and unable to breathe, open their airway and start CPR if necessary. Immediately contact the emergency services to warn them that the victim is in cardiac arrest.
First aid kit for babies:
Below is a shopping list for your baby’s first aid kit and a checklist for your infant’s first aid kit:
- Antipyretic and analgesic medicines
- Thermometer
- Cough Syrup
- Calamine lotion for skin rashes
- Cotton balls, sterile gauzes, sticky bandages to secure wounds and bruises
- An ointment for burns
- Ice packs provide relief from pains.
- Scissors
- Baby nail clipper
- Droppers, measuring cups, or syringes for measuring medicines
- First aid manual
You can also read: FLU (INFLUENZA): DEFINITION, SYMPTOMS, TREATMENT, & PREVENTION
First aid kit list:
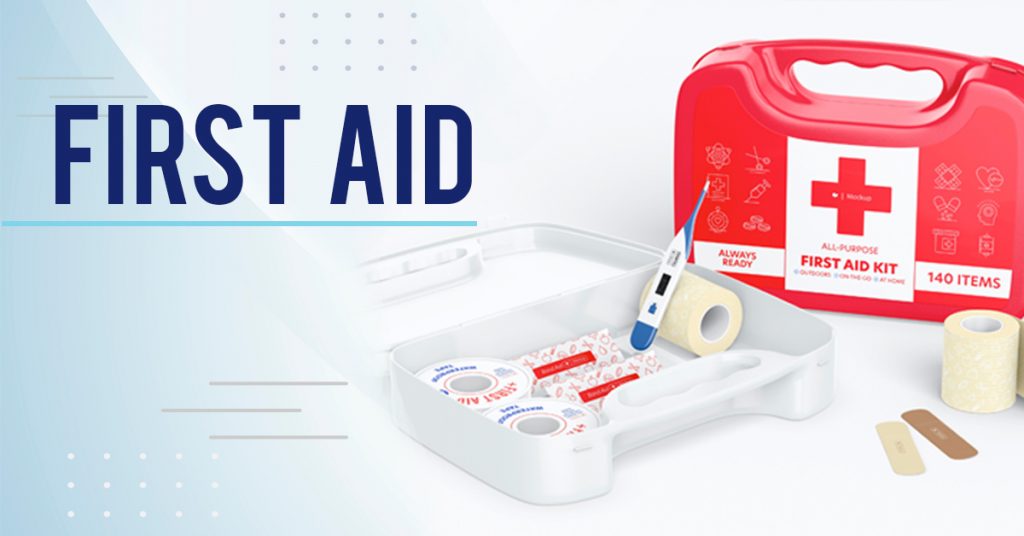
A commercially available first aid kit might be a good choice, but you can also make your own. Being prepared means keeping a kit in your home, your car, and at work.
Common items found in a first aid kit list are as follows:
- Bandages, roller bandages, and tape
- Sterile gauze
- Antiseptic wipes and swabs
- Absorbent compresses
- Antibiotic cream
- Burn ointment
- Mask for breathing (rescue breathing/CPR)
- Chemical cold pack
- Eyeshield and eyewash
- scissors
- tweezers
- thermometer
- blanket
- first aid manual

